

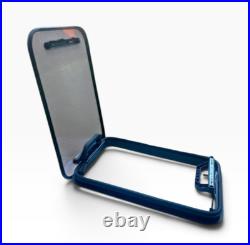
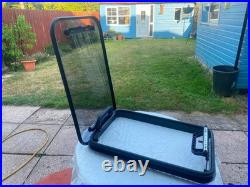
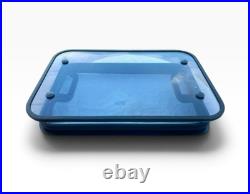
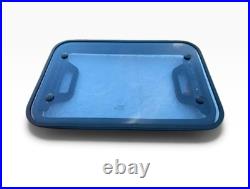
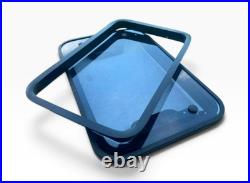
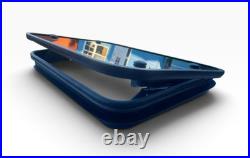
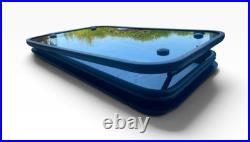
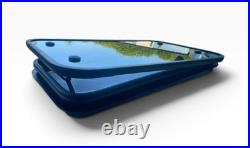
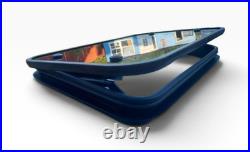
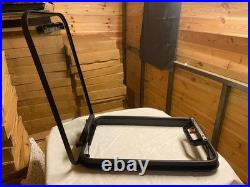
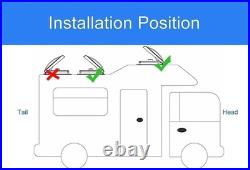
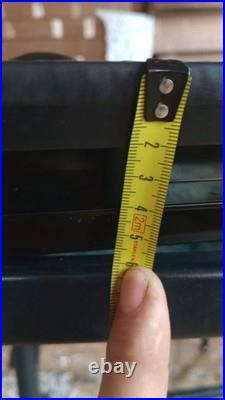
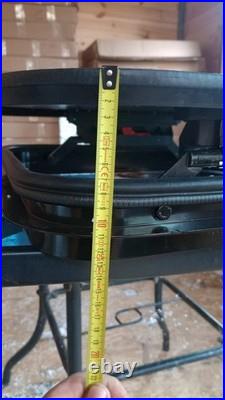

Premium Skylight Hatch – Full Multi-Side Opening + 90° Lift – Aluminium & Tempered Smoky Glass Not Plastic! Upgrade your camper, motorhome, horsebox, or caravan with this high-quality skylight hatch made from strong aluminium and real tempered safety smoky glass – absolutely no cheap plastic anywhere. Premium Aluminium Frame – Built from strong, corrosion-resistant aluminium with a sleek black powder-coated finish for a modern, high-end look. Tempered Tinted Safety Glass – Not plastic! Engineered for strength, visibility, and long-lasting durability, even in rough weather. Advanced Triple Opening System. Open from one side. Open from both sides. Or open fully to 90° on one side for complete air circulation. Note: To open at 90°, please first push up and open the hinged side, then extend to 90°. Easy Installation. Cut-out Size: 40cm x 65cm. External Frame Size: 46cm x 71cm. Simple, secure fit – no special tools needed. ? Breathe Easy, Sleep Cool. With its unique 90° full-opening design, this skylight gives you total control of airflow – ideal for hot days, cooking areas, or sleeping spaces. Installing a skylight is a great way to add light and ventilation. Ensure you have a clear, flat roof area before starting. Jigsaw (with metal-cutting blade). Electric drill & drill bits. Master bonding kit, Sikaflex 221 or 512. Measuring tape & masking tape. Check Internals: Ensure the chosen roof area is clear of internal wiring, structural ribs, or furniture. Mark the Cut: Apply masking tape to the roof to protect the paint. Mark skylight size square (or the specific aperture size required by your specific model). Double Check: Measure twice! Ensure the hole is square and cantered. Pilot Hole: Drill a hole in each corner of your marked square, large enough for the jigsaw blade to enter. The Cut: Use the jigsaw to carefully cut along your lines. Pro tip: Have someone hold the metal from underneath or tape it to prevent the cut out from falling and damaging the interior. Deburring: Use a file or sandpaper to smooth the sharp edges of the cut. Clean away all metal filings immediately to prevent rust spots on your roof. Rust Prevention: Apply a rust inhibitor or primer to the exposed metal edges of the cut. Dry Fit: Place the skylight into the hole to ensure a perfect fit. Apply Sealant: Apply a thick, continuous bead of non-setting sealant (butyl) or high-grade adhesive sealant to the underside of the skylight flange. Ensure there are no gaps in the bead. Drop in Place: Carefully lower the skylight into the aperture, ensuring it is oriented correctly (usually with the hinge facing the front of the vehicle to prevent wind lift). Secure: Depending on the model, screw the outer frame to the roof or use the internal clamping ring to sandwich the roof between the two frames. Do not over-tighten, as this can distort the frame. Clean Up: Wipe away any excess sealant that squeezes out with white spirit or a recommended cleaner. Internal Trim: From inside the vehicle, fit the internal trim/shroud and any flyscreens or blinds provided. Water Test: Allow the sealant to cure (usually 24 hours) before testing with a hose to ensure it is 100% watertight.